An Introduction to the relational database management system made easy. The filemaker pro is a product of Claris corporation and this is a multi-platform tool. It maintains the diffrent tables in the form of files.
We are maintaining a Contact manager out here with the help of FileMaker Pro Software. This is basically all the contacts and every single details about the contacts.
- How to start up
- How to use the main Contacts Interface
- How to keep account of letters,calls.
- Faxes
- How to get the reports
- How to find a specific contact
- How to view all records as a list(Spread Sheet format)
To get into the Contact Manager do the following steps:
- Select the Start button at the bottom left corner of your window.
- Then select the FileMaker Pro Icon from the Programs menu
- This asks to open up a new file or an existing file. As shown below. Go ahead and click Open an existing file.
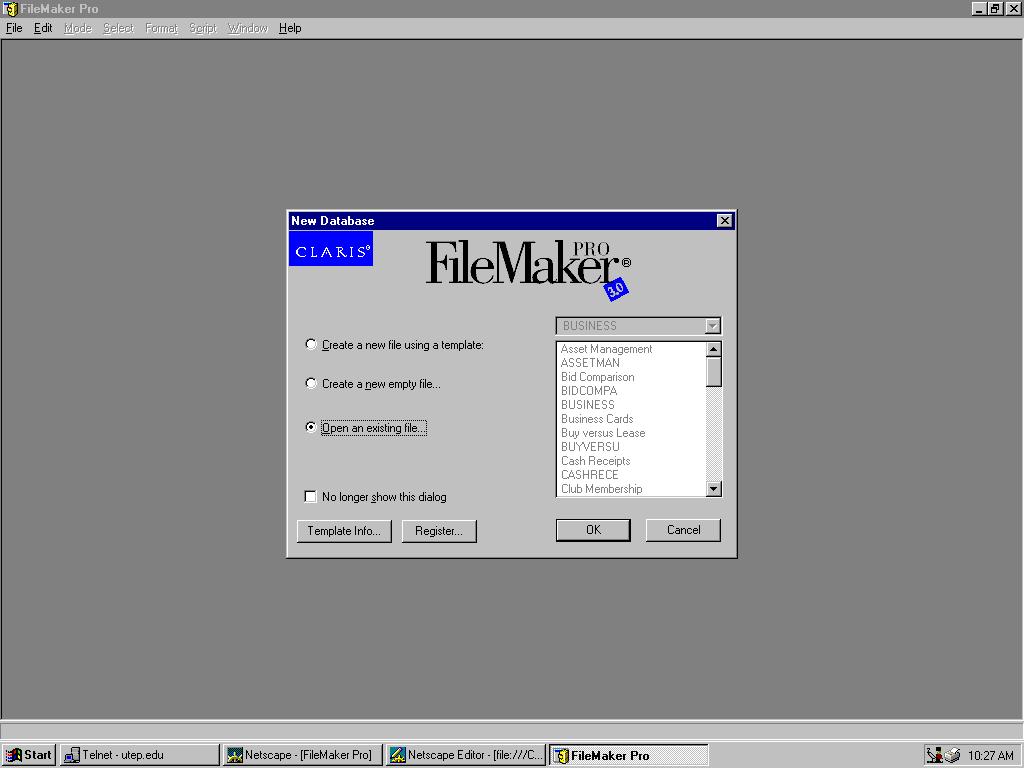
- When you click Ok you will get diffrent screens to browse to the right location.
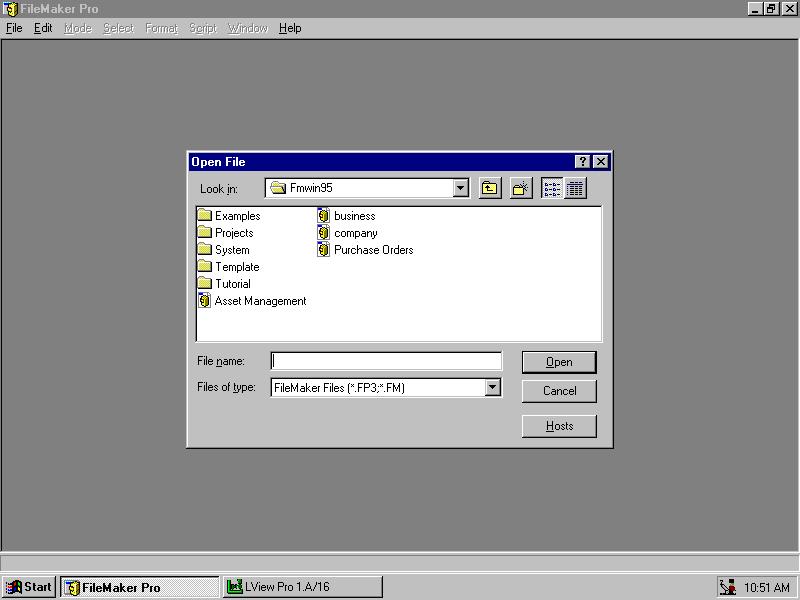
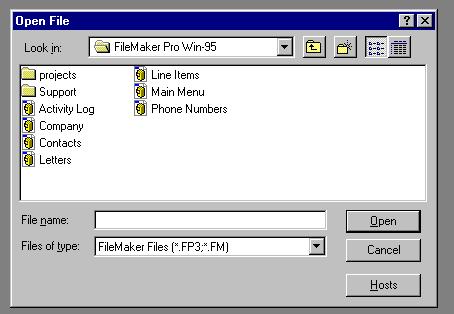
- The Above Screen will show up. Here we have to traverse to the folder where contacts file is.
- We have to browse all the way to this Directory/Folder H:/users/public/FilemakerPro Win95/
On double clicking on the Contacts we get the password box, where in you type the password to get access to the contact manager
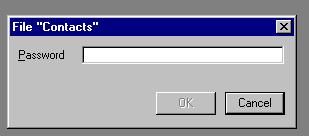
After entering the password, it takes 1-2 minutes to shoot up the Main Menu window.
This window looks like the one below.

![]()
- This has 3 photographs. The first one is what we are concerned about --- The Contacts
- Just click on this photograph and you will get to the dataentry part of the contacts.
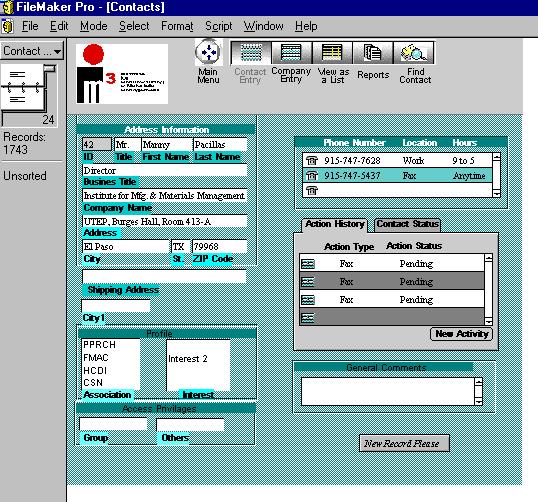
This DataEntry is self-explanatory. The Personal details like name, title are same.
When it comes to entering the Profile, there are two columns. The one which says Association is to be noted. Here we enter all the diffrent groups that the particular person belongs. This is basically a pulldown list and all we have to do is to choose the particular group. For example Manny out here belongs/is a member of CSN--->which stands for Center for Sustainable Neighbourhood. We can list a person under any number of associations. This helps in tracking the people involved in each group.
Next is the telephone entry. Here you enter the phone number and the location is again a pulldown menu with options like work,home,mobile. Choose the appropriate ones.
![]()
Then comes the activity log. Here all the contacts that a person makes can be record. For example the calls, faxes and the letters he writes.
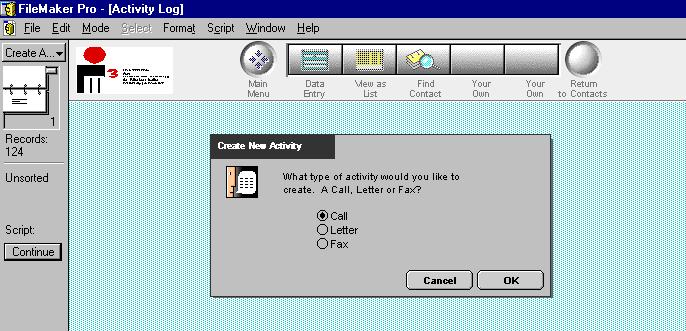
We can choose the right activity and get to calls or letters or Fax.
This just keeps a log file of the activities and helps us keep track of the diffrent activities.
Calls:
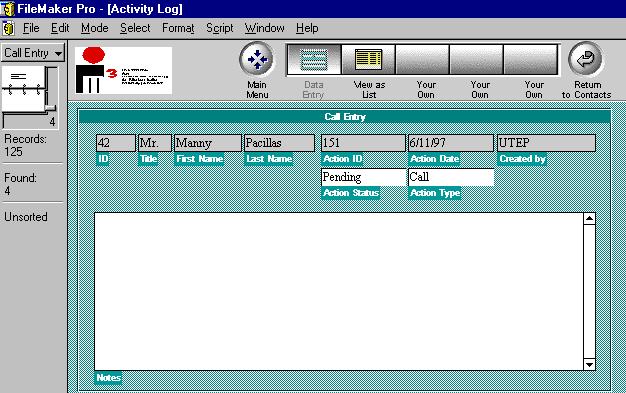
All the details about the calls made can be saved here.
Regarding the Letters we have the same kind of logs:
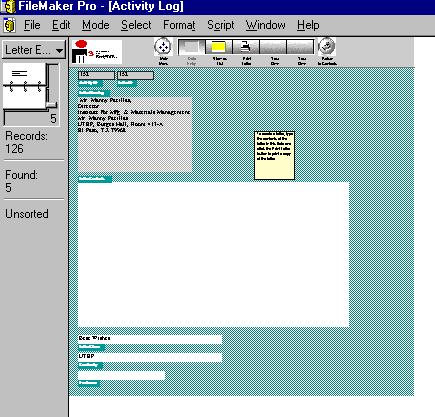
The body of the letter can be entered here and kept under this log.
![]()
Similarly for the Faxes. You can send the faxes from the click of a button. On the Activity Log window you have to say Fax and OK. This will get to the fax window...as seem below...
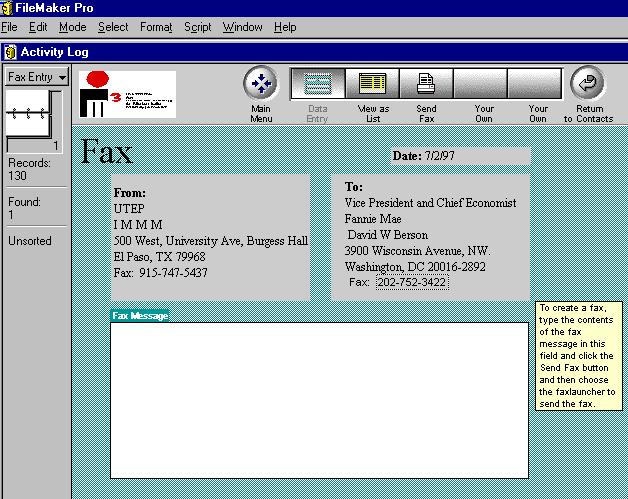
Once you are done entering the message in the Fax Message window you can click on Send Fax. Before clicking on Send Fax you might need to copy the fax number by highlighting it and right clicking the mouse to get the menu and copy it.
The Send Fax takes you to a diffrent window. This window just gives you a fax-preview and the Continue button on the left takes to choose the actual Fax machine. In the Name part of the window, choose the FaxLauncher and you will get a menu to fill in stuff as the fax number and Cover sheet and things like that. After that all you have to say is OK and the fax goes all the way through.
![]()
This is just the process of extraction of data in the desired form. On the main screen we see button at the top that says reports. ON ckicking on this button we get to this screen...
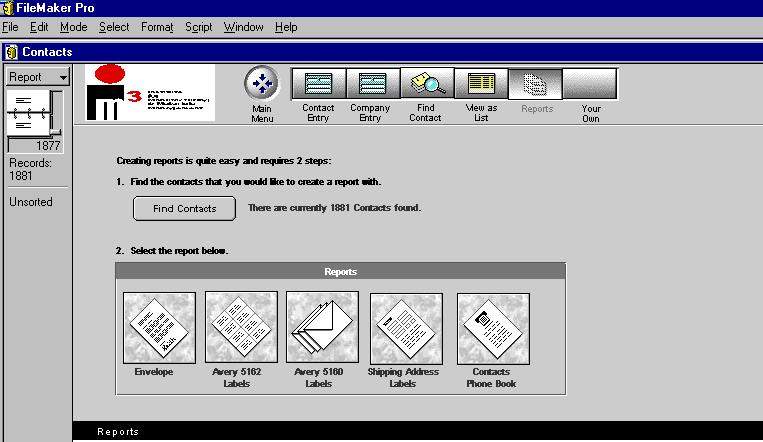
Here you can find for a particular set of records by clicking on the Find Contacts or get the whole database in the format required. To find for a specific person/group that you want to extract from the database you have to do the following:
Either go to reports and click on the Find contact or Go the the main screen and click the find contact button. It depends on the screen you are. When you click the Find Contact button it takes to the screen as seen below:
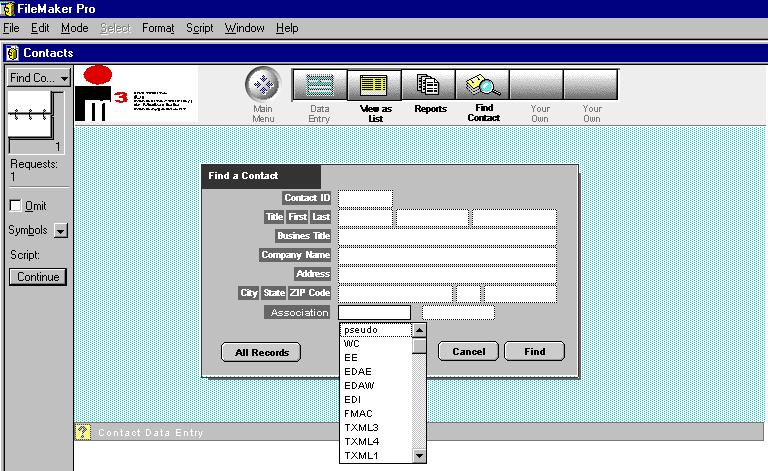
With the screen above you can enter the Last name that you wanted or the First name or all the prople in a particular Association and all possible queries. Once you have your criterion enter just click on the Find button. This will pull up the specific records depending on the criterion that you specified. You see the number of records that were selected on the criterion that you sepcified on the left hand side.
You can click on Reports if you wanted these to be printed out on labels or phonebooks etc. Or if you just want to view the list of people in the group you may just click on the View as List Button.
To get the reports on the specific records that have been selected, after doing the find contact on the specific criterion selected you have to choose one of the layouts that you want your reporst in. Like the Labels or Envelopes. On chosing one type of layout you get a menu like this:
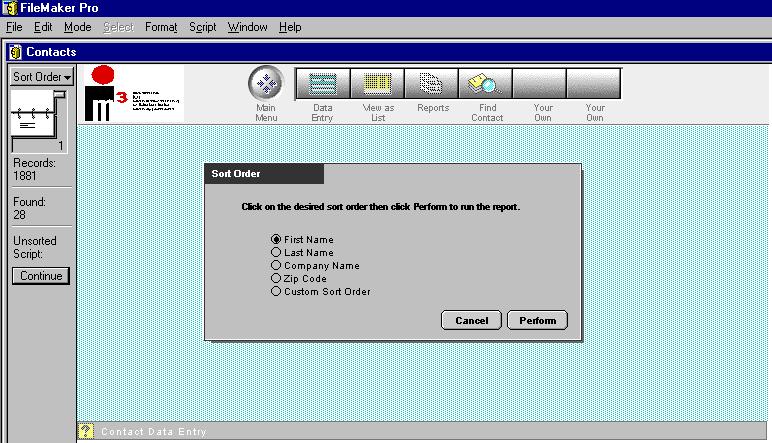
Choose one of them to be sorted on your labels or envelopes. The Click on Perform. On doing this you will go to the Print Preview of the records and on clicking Continue you get a prompt as to which printer this is to be printed on and you get the report Printed.
This is one of the buttons on the Main Screen and on diffrent screens. All this does is just gives the list of all the people in a spread sheet format which looks like this:
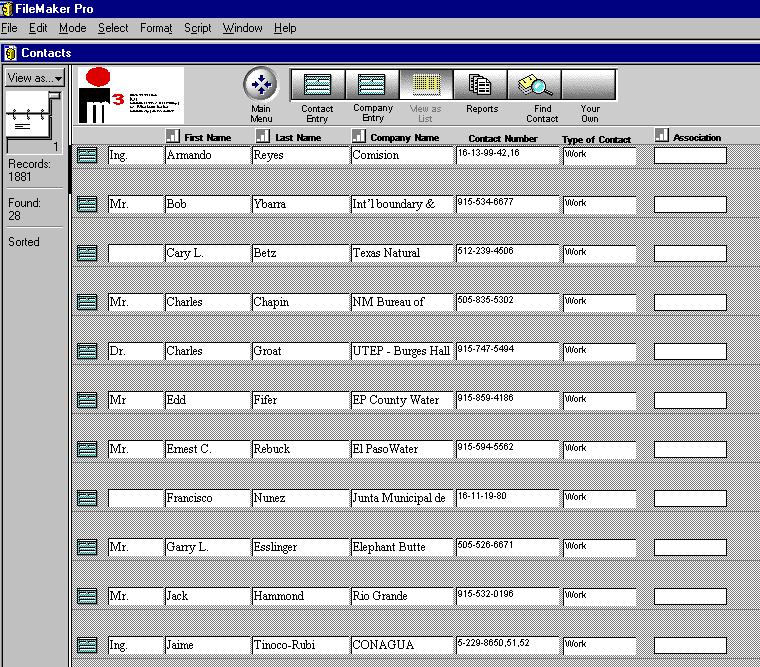
This way you can have a feel of spreadsheet. The Blue box at the left corner of each row on clicking takes you to the respective record displayed on the Main Screen of Contacts layout.
For more details contact:sanjeev@utep.edu